3D PRINTED RESIN
3D printed dental casting photosensitive resin
- Product description: 3D printed dental casting photosensitive resin
PRODUCT DETAILS:
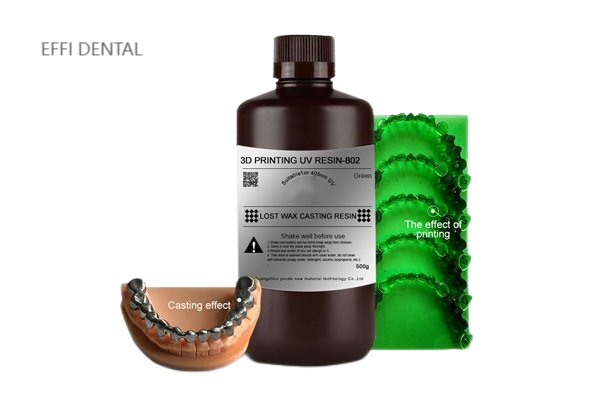
Type 802 lost wax casting photosensitive resin is a yellow casting material with 80% wax content, complete combustion, no ash, and low expansion. The printed wax model has clear details and excellent hardness, tougher than 801#.
It supports a variety of paraffin casting conditions and is compatible with high-quality gypsum to enhance the excellent effect of using gypsum outsourcing to cast jewelry.
From retailers and designers who produce custom jewellery to large-scale foundries, jewelers can use Dayoude brand cast resins to expand their business.The high precision and smooth surface finish of Dayoude casting series resin allows you to go directly from design to production.
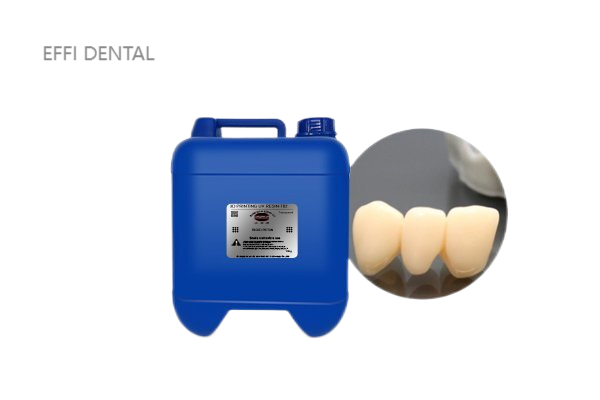
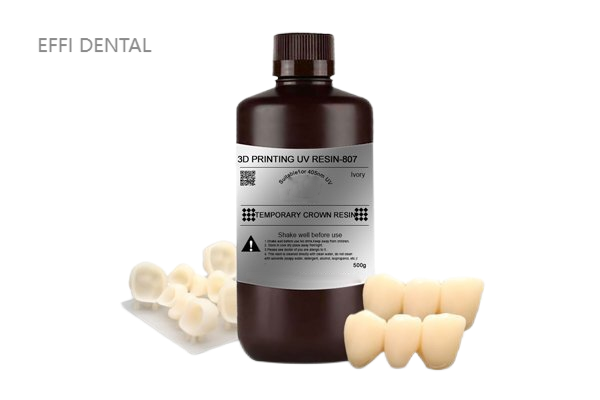
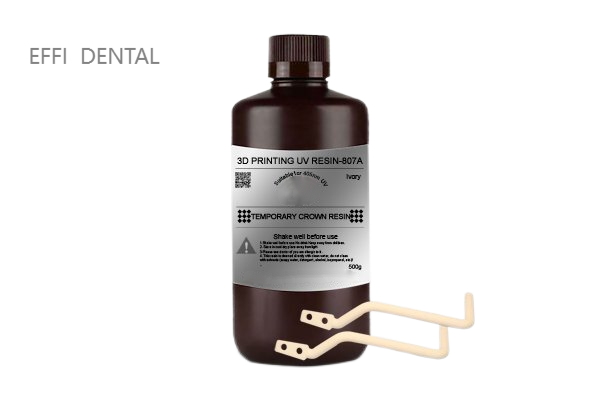
Use:802 is suitable for gold and silver jewelry ,and more suitable for wax crowns, steel bracket wax molds and other models that require hardness in the dental industry.
Material property data
|
PROPERTY |
Unit |
PROCEDURE |
Results |
|
Viscosity |
(cps@25℃) |
|
80-150 |
|
Critical exposure energy |
( mJ/cm2 ) |
|
8.1~9.0 |
|
Tensile Strength |
MPa |
ASTM D638 |
36-52 |
|
Tensile modulus |
MPa |
ASTM D638 |
1,700-2,335 |
|
Elongation |
% |
ASTM D 648 @66PSI |
4-8 |
|
Heat distortion temperature |
℃ |
|
55 |
|
Shore hardness |
D |
|
81 |
Recommended printing parameters
|
Item |
Test results |
|
Printing layer thickness |
0.035-0.05mm |
|
Number of printing layers |
3-5 layers |
|
Bottom exposure time |
30 seconds/layer |
|
Exposure time |
5 seconds/layer |
|
Item |
Test results |
|
Phrozen Sonic Mini 4K |
6.1‘’ 4K LCD 3D printer |
|
Layer thickness |
0.03mm |
|
Number of printing layers |
6 layers |
|
Exposure time |
5s/layer |
|
Bottom exposure time |
8s/layer |
|
Lifting distance of bottom layer |
5mm/layers |
|
Lifting distance of bottom layer |
5mm |
|
Lifting speed of bottom layer |
40mm/min |
Washing
Remove the custom tray from the build platform and soak in IPA(isopropanol) or ethanol(≥95%) to remove the extra resin. Use an ultrasonic cleaner if necessary. Please be aware that IPA and ethanol must NOT be placed directly in the tank of the ultrasonic cleaner.

Removing Supports
Manually snap off or use a flush cutter to snip away the support structure from the printed model. Using the flush cutter, cut the supports as close as possible to their attachment points on the model. Be careful not to nick the model itself, as this can cause pitting that may be difficult to remove during sanding.

Post-curing
For post-curing, the curing energy and curing time depends on the post-curing unit. For example, a good surface hardness can be achieved by 10 minutes of post-curing using a 36W (12WCCFL + 24W LED) UV curing box at 405nm or using Formlabs FormCure curing box at 405nm at 60°C for 15 minutes.

Polishing
Polish the surface using polishing paper or a rotary tool with a buffing attachment. Do not finish the print with mineral oil after sanding.
Related Products
Categories
Latest News
Contact Us
Contact: Mario
Phone: +8613482534556
Tel: (0574)62913789
Add: Add: No33 West Road GaoQiao NingBo ZheJiang Province
 effi-dental